Background
The need for secure coding practices has never been greater. Vulnerabilities can be introduced at any stage of the software development life cycle and can result in significant data breaches and other security incidents. Therefore, it’s essential to have a robust security process in place to catch these vulnerabilities early on.
Bytesafe is a security-focused tool designed to help developers and organizations secure their software development process. It provides a range of features, including dependency management, vulnerability scanning, and policy enforcement, to ensure that software is developed with security in mind.
Azure DevOps is a comprehensive set of development tools that allow organizations to build, test, and deploy applications. Using it developers can automate the entire software development process, from code management to deployment, making it an ideal tool for any development team.
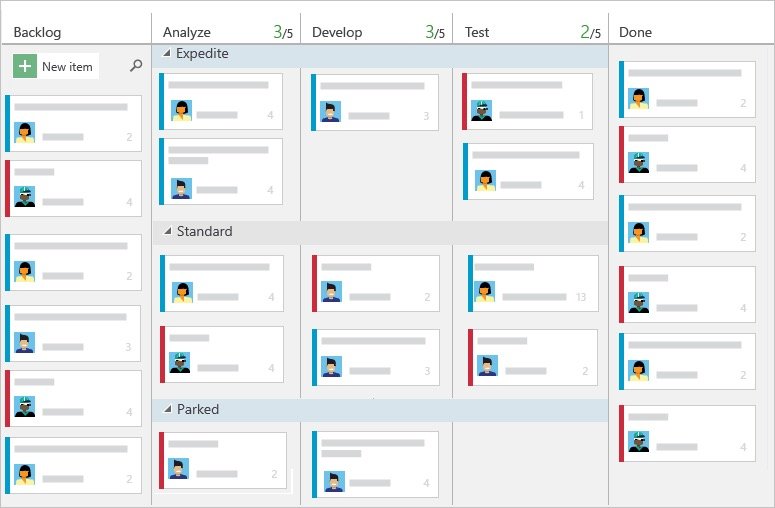
For organizations that are already utilizing Azure Boards for their daily planning, incorporating Bytesafe Issues into the same tool can be beneficial in terms of maintaining a clear picture of what needs attention.
Zapier Integration
Integrating Bytesafe with Azure DevOps can help organizations strengthen their security processes and automate their development workflows. This integration enables Bytesafe to notify Azure when new vulnerabilities are discovered, allowing developers to quickly address these issues before they become major problems.
One way to integrate Bytesafe with Azure DevOps is by using the Bytesafe Zapier app. This app connects Bytesafe with hundreds of other applications, making it easy to automate workflows and create custom integrations.
To create work items in Azure Boards when Bytesafe discovers new vulnerabilities and opens new issues, you can follow these steps:
Create a new Zap
First, you’ll need to create a new Zap in Zapier. A Zap is a workflow that connects two or more applications and automates tasks between them. To create a new Zap, log in to Zapier, click on the “Make a Zap” button, and choose Bytesafe as the trigger app.
Set up the trigger
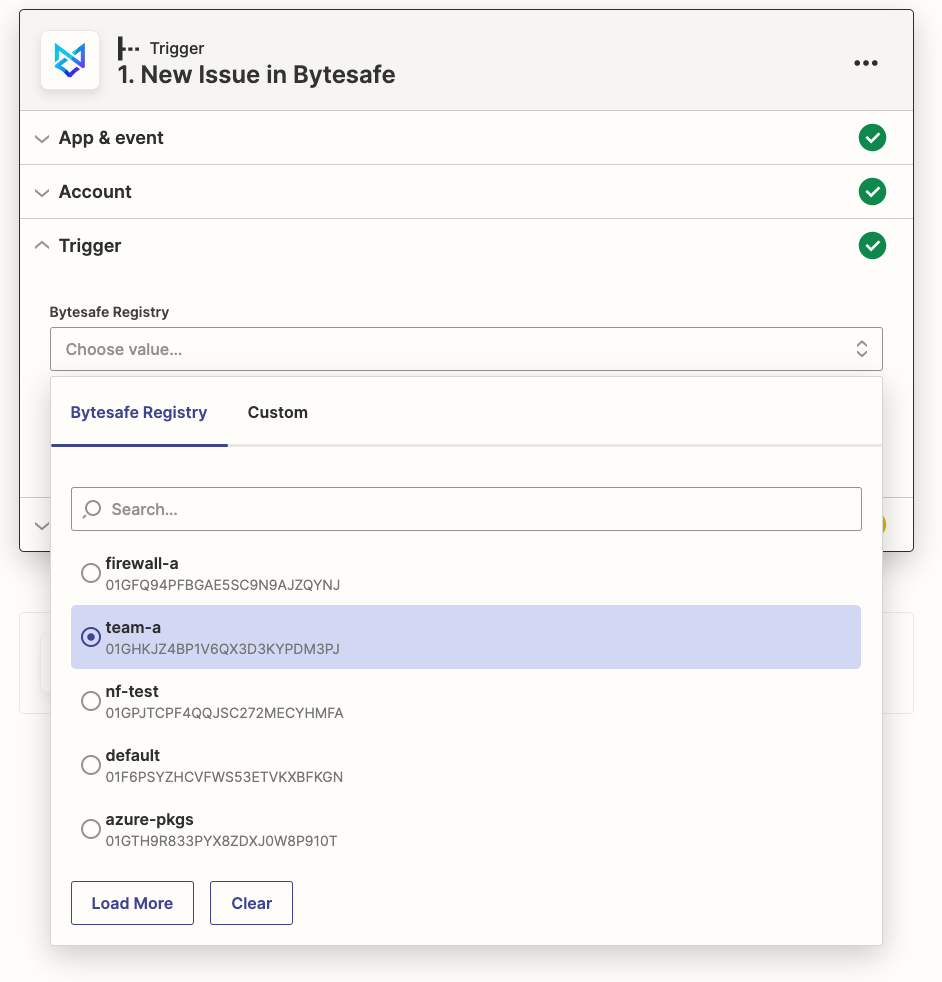
Next, you’ll need to set up the trigger for your Zap. In this case, you want Bytesafe to be the trigger app, so choose “New Issue” as the trigger event. You’ll also need to connect your Bytesafe account to Zapier by entering your Bytesafe Workspace name and your access token, please see the docs for details.

Set up the action
Once you’ve set up the trigger, it’s time to set up the action. In this case, you want to create a work item when Bytesafe discovers a new vulnerability. To do this, choose Azure DevOps as the action app and configure your Account.
Connect Azure DevOps to Zapier by entering your Services organization name and connect using OAuth.
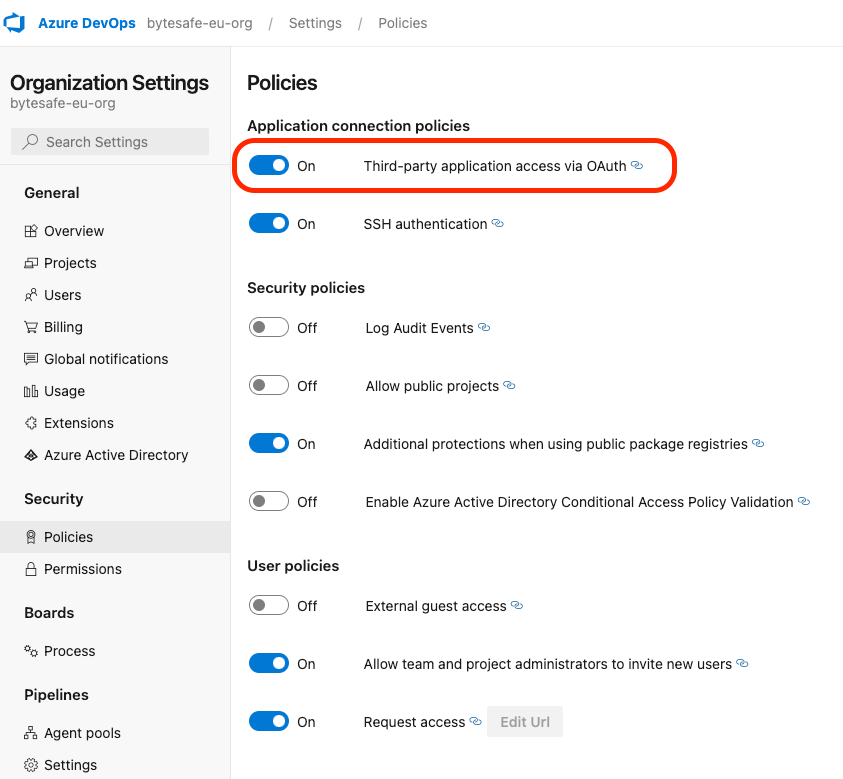
To allow Zapier access you need to enable third party access.
To do this, go to your Azure DevOps account and navigate to Organization settings -> Security - > Policies -> Third-party application access via OAuth.

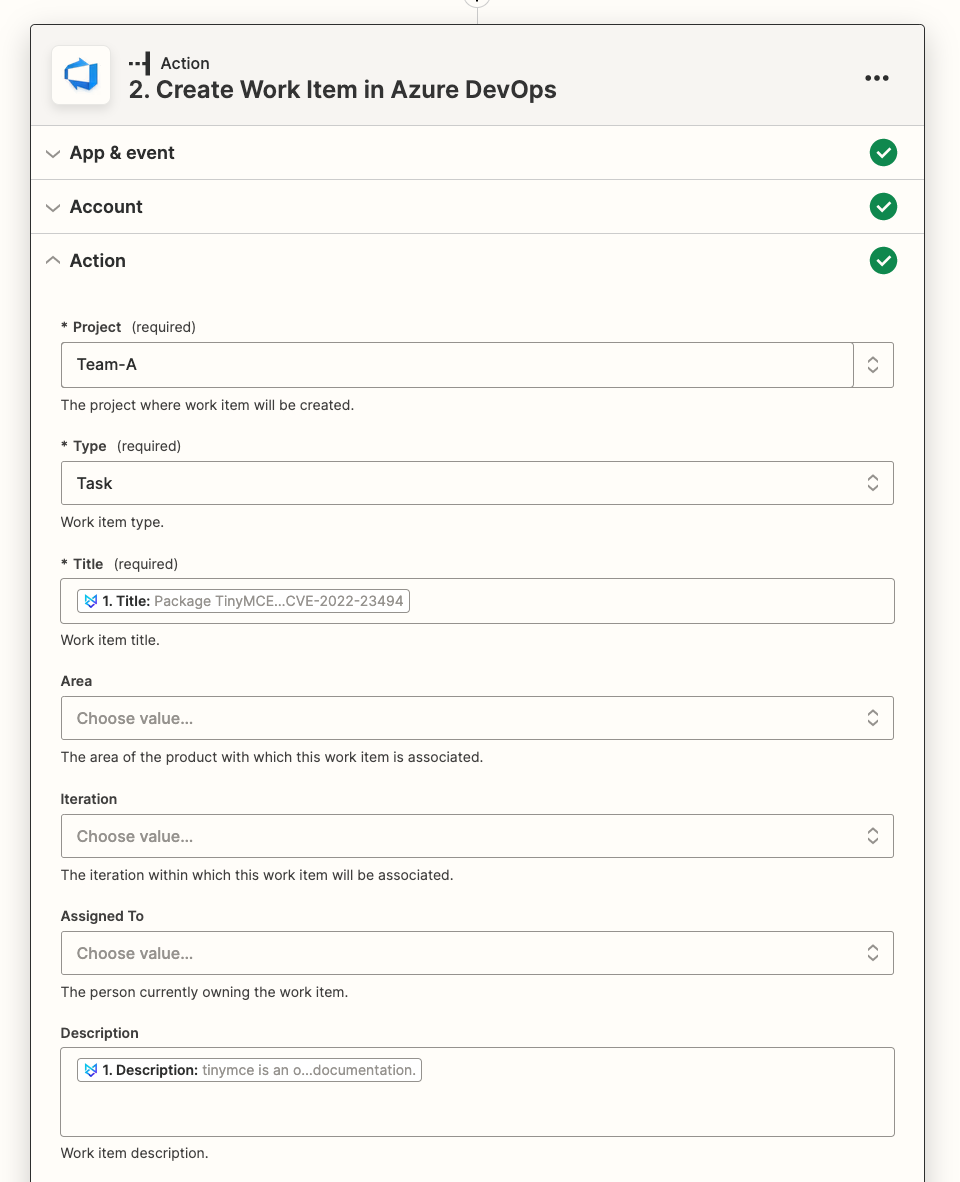
When your Account is set up, go ahead and select “Create Work Item” as the action event. Then, you can customize the work item fields, such as title, description, and priority, to fit your organization’s needs.

Test the Zap
Before you can activate the Zap, you’ll need to test it to ensure that it’s working correctly. To do this, Zapier will simulate a new issue in Bytesafe, and you’ll be able to see if the Zap creates a new work item in Azure DevOps.
If everything looks good, you can activate the Zap, and it will run automatically whenever Bytesafe discovers a new vulnerability and opens a new issue.


